Building and Deploying a Package
Last updated on 2025-09-16 | Edit this page
Estimated time: 12 minutes
Overview
Questions
- How do we build and deploy our project as a package?
Objectives
- Deploy our project locally as a python package
- Set up Github Actions to automatically build and deploy our package
Building Locally
Since we have been using uv all along and have our
pyproject.toml set up, building our package is as simple as
running:
You should see some output that looks like this:
Building source distribution...
Building wheel from source distribution...
Successfully built dist\textanalysis_tool-0.1.0.tar.gz
Successfully built dist\textanalysis_tool-0.1.0-py3-none-any.whl
And a new directory called dist/ should appear in your
project folder. Inside that directory, you should see two files:
-
textanalysis_tool-0.1.0-py3-none-any.whl: This is the wheel file, which is a built package that can be installed. -
textanalysis_tool-0.1.0.tar.gz: This is the source distribution, which contains the source code of your package.
What Exactly are these files?
A Wheel file is a built package that can be installed using pip. It contains all the necessary files for your package to run, including compiled code if applicable. Wheels are the preferred format for Python packages because they are faster to install and can include pre-compiled binaries.
Why is it called a “wheel”?
The term “wheel” is used because the original name for PyPi was “cheese shop” (a reference to a Monty Python sketch), and a wheel of cheese is a common image associated with cheese shops.
The source distribution is a tarball that contains the source code of
your package. You can open it with a tool like tar or
7-Zip to see the contents. It includes all the files needed
to build and install your package, including the
pyproject.toml file and any other source files.
GitHub Actions
Building the package locally is great for testing, but what we actually want is to have our package built and automatically deployed from GitHub, so that anyone using our package can always get the latest version. GitHub Actions is a tool that allows us to automate tasks in our GitHub repository by configuring a workflow using a YAML file.
Setting Up the Workflow
In your project, create a new directory called
.github/workflows/. Inside that directory, create a new
file called build.yml. This file will contain the
configuration for our GitHub Actions workflow.
Here is the build.yml file we will use:
YAML
name: Build and Deploy Package

on:
  push:
    tags:
      - '[0-9]+.[0-9]+.[0-9]+*' # Deploy when we tag with a semantic version

jobs:
  build:
    runs-on: ubuntu-latest # Use the most up-to-date Ubuntu runner
    permissions:
      contents: write  # Required to create releases

    steps:
    - uses: actions/checkout@v4 # Check out the repository

    # Create a Python environment
    - name: Set up Python
      uses: actions/setup-python@v4
      with:
        python-version: '3.11'

    # Install uv
    - name: Install uv
      uses: astral-sh/setup-uv@v3

    # Build the package
    - name: Build Package
      run: uv build

    # Upload the built package to the repository as an artifact
    - name: Upload Artifacts
      uses: actions/upload-artifact@v4
      with:
        name: textanalysis-tool
        path: dist/

    # Create GitHub Release with artifacts
    - name: Create Release
      uses: softprops/action-gh-release@v1
      with:
        files: dist/*
        generate_release_notes: true
      env:
        GITHUB_TOKEN: ${{ secrets.GITHUB_TOKEN }}

    # Publish to TestPyPI
    - name: Publish to TestPyPI
      run: |
        uv publish --publish-url https://test.pypi.org/legacy/ --username __token__ --password ${{ secrets.TEST_PYPI_API_TOKEN }}
Setting up PyPI
Because we are not ready to publish our package to the main PyPI repository, we will use TestPyPI, which is a separate instance of the Python Package Index that allows you to test package publishing and installation without affecting the real PyPI.
For this you will need to have an account on TestPyPI with 2-Factor enabled. You can create an account at https://test.pypi.org/account/register/.
Once your account is set up, go to your account settings and create
an API token with the name github-actions. Copy the token
to your clipboard.
Next, we need to store the token in our GitHub repository as a
secret. Go to your repository on GitHub, click on “Settings”, then
“Secrets and variables”, and then “Actions”. Click on “New repository
secret” and name it TEST_PYPI_API_TOKEN. Paste your token
into the “Value” field and click “Add secret”.
Triggering the Workflow
git add, git commit, and
git push this file to your repository. You should see a new
“Actions” tab in your GitHub repository. Click on it, and you should see
your workflow listed there:
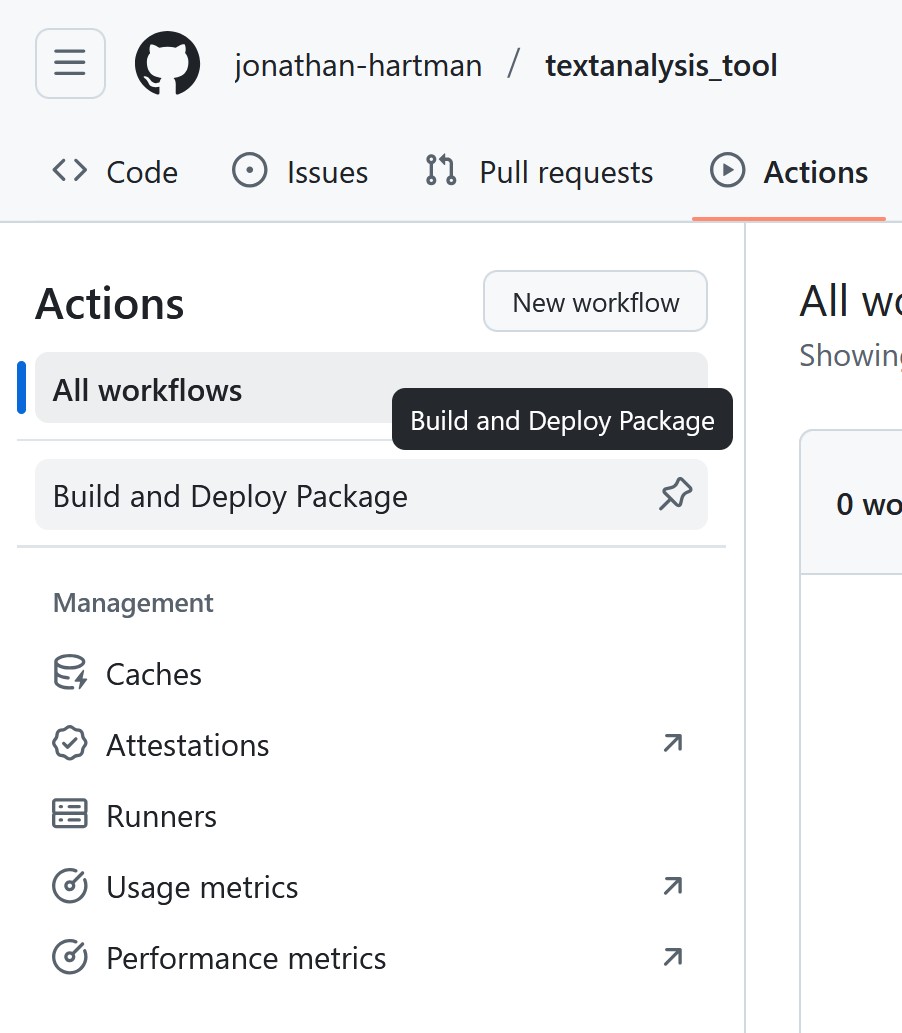
But nothing has run yet! This is because we have configured our workflow to only run when we push a tag that follows a semantic version format (0.1.0, 1.0.0, etc.). This is a common practice for deploying packages, as it allows us to control when a new version of our package is released.
Let’s create a new tag and push it to our repository. You can do this using the following commands:
Looking back at the “Actions” tab, you should see that your workflow has started running! Our project is pretty small, so it should finish quickly. Clicking on the workflow will show you the steps that were executed:
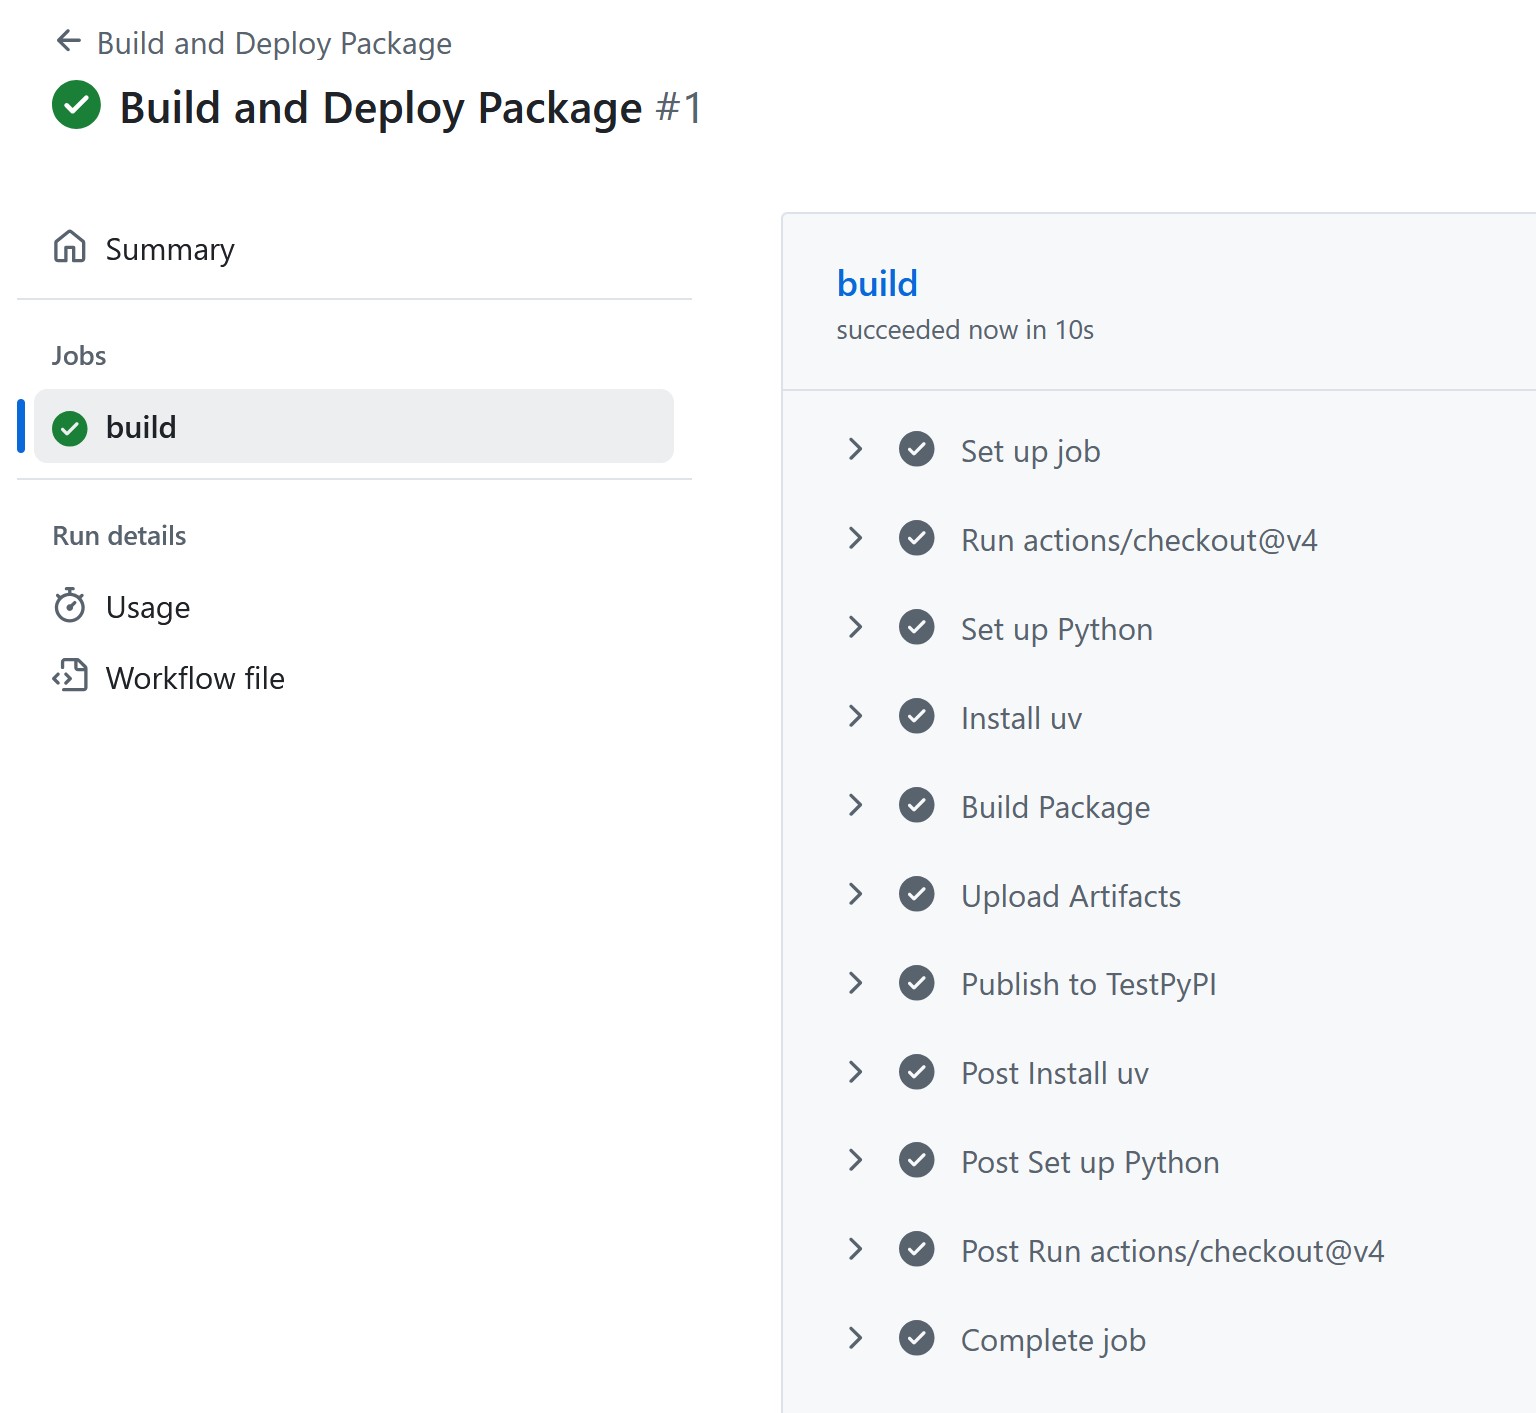
You can see the “Setup Python”, “Install uv”, “Build Package”, and
“Upload Artifacts” steps that we defined in our build.yml
file, as well as some additional steps before and after that GitHub
automatically adds. If everything went well, you should see a green
check mark next to each step.
Clicking on any given job will give some additional details, including the console output.
Github Actions is free for public repositories, but does have limits on the amount of compute time you can use per month. As of September 2025, the limit is 2,000 minutes per month. This is generally more than enough for most open source projects.
Finding the Built Package
So our workflow is successful, but where is our package? Our little script actually put our project in three places:
- As an artifact in our GitHub repository for this workflow run
- As a release in our GitHub repository
- On TestPyPI as a package
The Artifact can be found in the “Actions” tab, by clicking on the
workflow run, and then clicking on the “Artifacts” section on the right
side of the page. You can download the artifact as a ZIP file, which
contains the dist/ directory with our built package files.
(This is identical to what we built locally earlier.)
The Release can be found by clicking on the “Releases” link on the
right side of your GitHub repository page. You should see a new release
with the tag 0.1.0, and the built package files attached as
assets.
Finally, the package can be found on TestPyPI by going to https://test.pypi.org/project/textanalysis-tool-{my-name}/.
Installing our package from TestPyPI
Now that our package is published on TestPyPI, we can install it into any Python environment using a package manager. Because we are using test.pypi.org, we need to specify the index URL when installing the package, which we do not have to do for packages on the main PyPI repository.
Create a new virtual environment in a clean folder with uv:
Then install our package from TestPyPI using pip:
You should see output indicating that pip is downloading and installing our package. Once the installation is complete, you can verify that the package is installed by running:
Continuous Integration / Continuous Deployment (CI/CD)
One of the advantages of using an automated process like GitHub
Actions is that we can also easily add additional steps to our workflow.
In previous episodes, we have added unit tests to our project, as well
as static code analysis using ruff and mypy.
We can easily add these steps to our workflow to ensure that our code is
always tested and checked before it is built and deployed.
Here’s the updated build.yml file with the additional
steps:
YAML
name: Build and Deploy Package

on:
  push:
    tags:
      - '[0-9]+.[0-9]+.[0-9]+*' # Deploy when we tag with a semantic version

jobs:
  build:
    runs-on: ubuntu-latest # Use the most up-to-date Ubuntu runner
    permissions:
      contents: write  # Required to create releases

    steps:
    - uses: actions/checkout@v4 # Check out the repository

    # Create a Python environment
    - name: Set up Python
      uses: actions/setup-python@v4
      with:
        python-version: '3.11'

    # Install uv
    - name: Install uv
      uses: astral-sh/setup-uv@v3

    # Install project with dev dependencies
    - name: Install dependencies
      run: uv sync --dev

    # Static Code Analysis with ruff
    - name: Run ruff
      run: uv run ruff check .

    # Type Checking with mypy
    - name: Run mypy
      run: uv run mypy src

    # Running Tests with pytest
    - name: Run tests
      run: uv run pytest tests

    # Build the package
    - name: Build Package
      run: uv build

    # Upload the built package to the repository as an artifact
    - name: Upload Artifacts
      uses: actions/upload-artifact@v4
      with:
        name: textanalysis-tool
        path: dist/

    # Create GitHub Release with artifacts
    - name: Create Release
      uses: softprops/action-gh-release@v1
      with:
        files: dist/*
        generate_release_notes: true
      env:
        GITHUB_TOKEN: ${{ secrets.GITHUB_TOKEN }}

    # Publish to TestPyPI
    - name: Publish to TestPyPI
      run: |
        uv publish --publish-url https://test.pypi.org/legacy/ --username __token__ --password ${{ secrets.TEST_PYPI_API_TOKEN }}
Update the version number in your pyproject.toml file to
0.2.0, and then create a new tag and push it to your
repository:
Now, unless you already went through in the earlier episodes, you
will likely see that the ruff , mypy, or
pytest steps fail. This is great! It means that we have
caught issues in our code before they made it into a release! Only once
all the tests pass and the code checks are clean will the package be
built and deployed.
Making a new tag for each release is good practice, however there are also occasions where you might want to run some of these jobs regularly when merging in code, or on pushes to certain branches. This is possible - there is an example of this in the Workshop Addendum.
Challenge 1:
- We can build our package locally using
uv build, which creates adist/directory with the built package files. - We can use GitHub Actions to automate the building and deployment of our package.
- GitHub Actions workflows are defined using YAML files in the
.github/workflows/directory. - We can trigger our workflow to run on specific events, such as pushing a tag that follows semantic versioning.
- We can add additional steps to our workflow, such as running tests and static code analysis, to ensure code quality before deployment.