Fonts, Formatting and Spacing
Last updated on 2026-02-25 | Edit this page
Estimated time: 25 minutes
Overview
Questions
- How can we set paragraph spacing in LaTeX?
- How can we customize text formatting in LaTeX?
- How can we align text in LaTeX?
Objectives
- Add custom spacing between paragraphs in LaTeX.
- Create a title page with custom text formatting.
Fonts
We saw earlier that we can create commands of our own in LaTeX, but
there is also a renewcommand command that let’s us change
the definition of an existing command. This might be useful if you want
the definition of a command to change throughout the document, however
there are also some commands that are pre-defined that we can modify
with this command.
For Example, we can change the font of the entire document by adding the following line to our preamble:
LATEX
% Change the font of the entire document to a monospace font
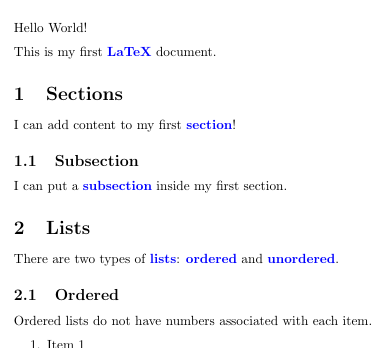
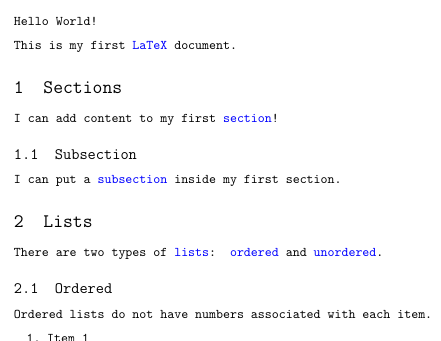
\renewcommand{\familydefault}{\ttdefault}When you compile the document you should see that it has changed from this:
To this:
More Fonts
Unfortunately, the default LaTeX installation does not come with many
fonts. However, there are additional packages that you can include if
you are looking for a specific font. Let’s try making our document look
like it’s using the Times New Roman font. To do this, all
we need to do is add the following line to the preamble:
You can find a large selection of fonts at The LaTeX Font Catalogue, complete with examples of how to use them in your document.
When you are using lualatex (or xelatex)
for compiling you can easily use all the fonts that are installed
locally on your computer:
Paragraph Spacing
A common style in LaTeX is to have no indents for paragraphs, but to
incorporate a blank line between them. We can achieve this using the
parskip package.
We’re going to use another package here just to show off some
commands without having to write a lot of text: the lipsum
package. This package provides the \lipsum command, which
generates “Lorem Ipsum” text.
Lorem Ipsum is a common piece of placeholder text used in publishing and graphic design. It is often used to demonstrate the visual form of a document without relying on meaningful content.
The text itself comes from the first-century BC work De finibus bonorum et malorum by Marcus Tullius Cicero.
In our document, we can now use a blank line to separate paragraphs:
LATEX
\section{Formatting and Spacing}

% Generate some "Lorem Ipsum" text
% The parameters mean "include paragraphs 1 thru 2" from the "Lorem Ipsum" text
\lipsum[1-2]
Compile the document and take a look at our section. You should see that our first paragraph has no indent, and there is no blank line between it and the following paragraph. The second paragraph does have an indent. This is the default behavior in LaTeX.
Now let’s add our package:
Keep an eye on the preview pane as you compile the document. You should see that the first paragraph now has a blank line between it and the second paragraph, and there is no indent on the first line of the second paragraph.
When you use a KOMA-Script documentclass you get the same result using a global option:
Forcing a New Line
Most of the time, you should not force a new line in your document;
you almost certainly want to use a new paragraph or parskip
instead. However, there are a few places where you might want
to force a new line:
- At the end of table rows
- Inside a
centerenvironment - In poetry (the
verseenvironment)
To force a new line, we can use the \\ command.
Adding Explicit Space
We can insert a thin space (about half the normal thickness) use the
\, command.
In math mode, there are also other commands:
-
\.for a “dot” space -
\:for a “colon” space -
\;for a “thick” space -
\!for a “negative” space -
\,for a “thin” space
Very rarely, for example when creating a title page, you might want
to add explicit horizontal or vertical space. We can do this using the
\hspace and \vspace commands:
We can also use the \vfill command to fill the remaining
space on a page. This is useful for centering content vertically on a
page.
Explicit Text Formatting
We’ve touched on this in previous episodes, but we can also use the following commands to format text explicitly:
-
\textbf{}for bold text -
\textit{}for italic text -
\textrm{}for roman text -
\textsf{}for sans serif text -
\texttt{}for typewriter text -
\textsc{}for small caps text
We can set the font size in the same way. All sizes are relative to the base font size:
-
\hugefor huge text -
\largefor large text -
\normalsizefor normal text -
\smallfor small text -
\footnotesizefor footnote text
You can further customize your font size by setting the font size
explicitly with the \fontsize command. The first parameter
is the font size, and the second parameter is the “leading”, which is
the distance between the base lines of each line of text.
{\fontsize{14}{16}\selectfont \lipsum}If you want it really big:
Text Alignment
We can align text using the following commands:
-
\centeringto center text -
\raggedrightto left-align text -
\raggedleftto right-align text
Creating a Title Page
Using all of this, let’s create a simple title page for our document.
We’ll put this just after the \begin{document} command, and
enclose everything in a titlepage environment:
LATEX
\begin{titlepage}
    \centering

    \textbf{My Example Document}

    \vfill
    January 1, 2000
\end{titlepage}The titlepage environment is a special environment that
LaTeX uses to create a title page. It sets some simple formating rules,
like removing multiple columns and resetting the page number. It also
prevents styling rules we add like centering from affecting
the rest of the document.
Inline instructor notes can help inform instructors of timing challenges associated with the lessons. They appear in the “Instructor View”
Challenges
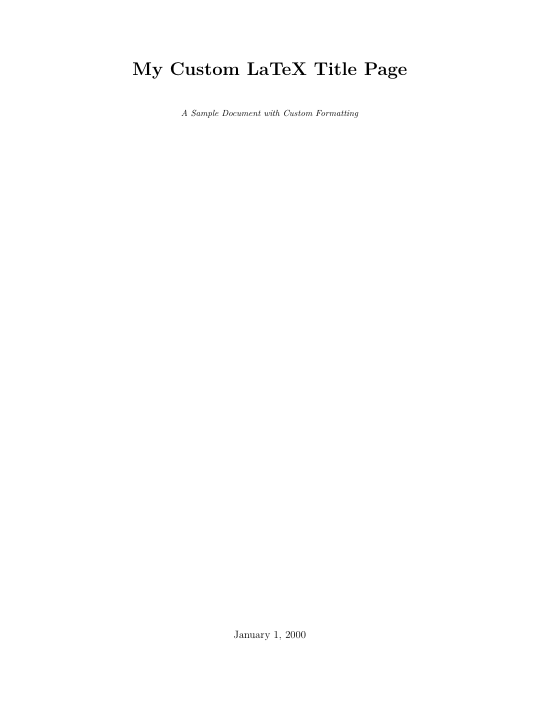
Challenge 1: Create a Title Page with Custom Formatting
Using the content covered, create a title page with custom formatting. Your title page should have:
- A centered title “My Custom LaTeX Title Page” in large, bold text.
- A centered subtitle in italic text, smaller than the title.
- The date centered at the bottom of the page.
You can use the commands \vspace and \vfill
to make fill blank space between the items.
Here’s an example of what your title page could look like:
Challenge 2: Adjust Paragraph Spacing
Consider the following document:
LATEX
\documentclass{article}
\usepackage{lipsum}

\begin{document}

\section{My Report}

\lipsum[1]
\lipsum[2]
\lipsum[3]

\end{document}
We want our document to have no indents for paragraphs, but to have a single blank line between them. What do we need to change in the document to achieve this?
We need to add the parskip package to the preamble of
our document. This will add a blank line between paragraphs and remove
the indent from the first line of each paragraph.
We also need to add a blank line between each \lipsum
command in order to create a new paragraph for each block of text.
Challenge 3: Making a custom quote block
Create a customg quote block using a center environment
and \vspace commands. See if you can make it look something
like this:

Note that there is some vertical space above and below the quote, and the text is formatted with different font sizes and styles. The quote itself is in italics, and the attribution is in small caps.
Bonus! Make a \newcommand to create a custom quote block
that you can reuse throughout your document.
Use a center environment to center the text, and use
\vspace to add space above and below the quote. Format the
text using explicit formatting options.
- Use the
parskippackage to add space between paragraphs - Force a new line with
\\ - Add explicit space with
\hspaceand\vspace - Format text explicitly with
\textbf,\textit, etc. - Align text with
\centering,\raggedright, and\raggedleft