Basic LaTeX Document Components
Last updated on 2026-04-08 | Edit this page
Overview
Questions
- What is the basic structure of a LaTeX document?
- How do I see what my LaTeX document looks like when it’s rendered?
Objectives
- Become familiar with the basic structure of a LaTeX document.
- Use TeXworks to render a LaTeX document into a PDF.
- Identify how to add special characters to a LaTeX document.
Editing the Document
We can edit the main.tex file with TeXworks (or any text
editor of your choice). Let’s start by creating a simple LaTeX
document:
LATEX
\documentclass{article}

\begin{document}
Hello World!

This is my first LaTeX document.
\end{document}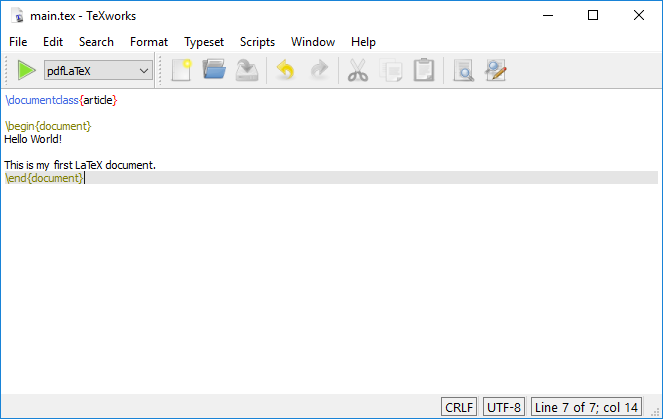
Errors happen! Check that you have entered each line in the text file exactly as written above. Sometimes seemingly small input changes give large changes in the result, including causing a document to not work. If you are stuck, try erasing the document and copying it fresh from the lines above.
Looking at our document
Our first document shows us the basics. LaTeX documents are a mixture of text and commands.
-
Commands start with a backslash
\and sometimes have arguments in curly braces{}. - Text is what you want to appear in the document and requires no special formatting.
Let’s look at the commands we’ve used so far:
-
\documentclass{article}: This command tells LaTeX what kind of document we are creating. (We might also use this command to instruct LaTeX to use a specific font size, paper size, or other document settings - more on this later!) -
\begin{document}and\end{document}: These commands mark the beginning and end of the document body. These commands are required in every LaTeX document and create the document body.
You can have multiple \begin{...} and
\end{...} pairs in a single LaTeX document, but you must
have exactly as many \begin{...} commands as
\end{...} commands.
Everything before the \begin{document} command is called
the preamble. The preamble is where you set up the document,
including the document class, title, author, and any other settings you
want to apply to the entire document.
Comments
We can add comments to our document by using the %
character. Anything after the % on a line is ignored by
LaTeX. As in any other programming language, comments are useful for
explaining what the code is doing. We’ll start incorporating comments
into our document going forward to explain some of the specifics of the
LaTeX code we’re writing.
As we go, you should use your version of the document to add your own comments as a way of taking notes on what you’re learning, and to act as a reference for yourself in the future!
LATEX
% This command tells LaTeX what kind of document we are creating (article).
\documentclass{article}


% Everything before the \begin{document} command is called the preamble.
\begin{document} % The document body starts here
Hello World!

This is my first LaTeX document.
\end{document}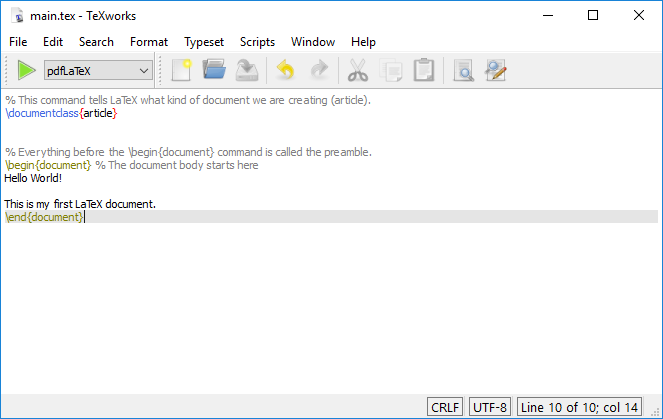
Note that the comments are displayed in a different color in the text editor. This is called “syntax highlighting”. Not all text editors will do this by default, but you can often add syntax highlighting to your text editor of choice.
Going forward, the examples we provide will not always include comments, but you should add them to your document as you see fit.
Rendering the Document
As with our example from the previous episode, we can render our
document by clicking on the large green “Typeset” button in TeXworks, or
by running the command pdflatex main.tex in our
terminal/consoloe.
When running the command in the terminal, make sure you have saved your document first, as the command will only render the last saved version of the document.
Paragraphs
Note that we have an empty line between our two lines of text. This is important in LaTeX, as this indicates a new paragraph. Let’s try removing the empty line and recompiling the document to see what happens.
You should see that the two lines of text are now displayed on the
same line. This is because LaTeX treats the two lines as part of the
same paragraph. If you want to start a new paragraph, you need to leave
a blank line between the two paragraphs. Instead of using an empty line,
there is also the command \par that leads you to the same
result of creating a new paragraph. More on this in one of the
challenges below.
Special Characters
You’ve probably noticed by now that the characters \,
{, and } are special characters in LaTeX.
There are others though, such as $, %,
&, # and ^. These characters
tend to be much less common in text, but you can use them by “escaping”
them with a backslash. For example,
-
\%produces% -
\&produces& -
\#produces# -
\^produces^
and so on.
What about the \ character?
The \ character is used to escape other characters in
latex, so it’s not possible to escape it in the same way. Instead, you
can use \textbackslash to produce a backslash in your
document.
Sometimes, special characters can, unintentionally, conflate with
characters that are used after that special character. You can prevent
that by typing {} directly behind your special character.
The following LaTeX code gives you an example:
Challenges
Challenge 1: What’s wrong with this document?
There is an error in the following LaTeX document. Can you find it?
(Feel to make a new .tex file in a new project folder to test this out!)
Each section of a LaTeX document must be enclosed in a pair of
\begin{...} and \end{...}. This document is
missing the \begin{document} command.
Challenge 2: Displaying Special characters.
How would I display the following text in a LaTeX document?
5 is greater than 3 & 2 is less than 4. This is 100% true.Challenge 3: Paragraphs with
\par.
In the section about Paragraphs from above we learned that empty
lines are important to create paragraphs. However, there is also a LaTeX
command called \par which might be of help for us. Consider
the LaTeX code below. Can you already guess which of these options
prints Hello World! and This is my first LaTeX
document. in two separate lines? (Feel to make a main.tex file in a
new project folder to test this out!)
LATEX
% This command tells LaTeX what kind of document we are creating (article).
\documentclass{article}

% Everything before the \begin{document} command is called the preamble.
\begin{document} % The document body starts here
% Option A
Hello World!

This is my first LaTeX document.

% Option B
Hello World! This is my first LaTeX document.

% Option C
Hello World! \par This is my first LaTeX document.

% Option D
Hello World! \par

This is my first LaTeX document.
\end{document}The command \par initiates a new paragraph for us even
if we write text in just one line (see Option C). Solely, Option B out
of all four options does not create the intended new paragraph as
neither an empty line nor \par is used. Moreover, Option D
gives us the same result as Option A and Option C, although we used
both, \par and an empty line.
Challenge 4: One line of code with paragraphs and special characters.
How would I display the following text in a LaTeX document but using just one line of code?
Hello World! This is my first LaTeX document.
Now, I know how to initiate paragraphs without an empty line.
Even more, I can write # and ^ correctly using LaTeX.We need to use \par to initiate a new paragraph without
using a new line of code. Moreover, we need to use escapes before each
of the special characters. The following LaTeX code will display the
text correctly:
- The
%character is used to add comments to a LaTeX document. - LaTeX documents are a mixture of text and commands.
- Commands start with a backslash
\and sometimes have arguments in curly braces{}. - We can view errors by either clicking on the “Logs and output files” or hovering over the red circle in the text editor.
After this episode, here is what our LaTeX document looks like: