Working with Custom Templates
Last updated on 2026-03-10 | Edit this page
Estimated time: 12 minutes
Overview
Questions
- How can we use the
beamerclass to create a presentation with Pandoc? - How can we use custom templates with Pandoc?
Objectives
- Create a presentation in Markdown and render it to PDF using the
beamerclass. - Use a custom template to create a presentation in Pandoc.
- Add LaTeX commands to a markdown file to customize the output.
The Beamer Class
In the previous episode we used the default document template to
create a plain document. This time, we’re going to use the
beamer class to create a presentation. The
beamer class is a popular LaTeX class for creating slide
presentations. Just like we did in the previous episode, we can create a
markdown file with some content and then use Pandoc to convert it into a
PDF.
Each Heading in the markdown file will be converted into a new slide in the presentation. The content of each slide will be determined by the content under the corresponding heading in the markdown file.
Let’s start with a simple markdown file that contains some headings and some content under each heading:
MARKDOWN
---
title: "My Presentation"
author: "Max Mustermann"
date: "2000-01-01"
---

# Slide 1
This is the first slide.

# Slide 2
This is the second slide.

- This is a bullet point on the second slide.
- This is another bullet point on the second slide.
As with our last document, we’ll add some metadata in the YAML front matter at the top of the file. This will be used by Pandoc to create a title slide for our presentation.
Finally, we’ll add a line to our CI/CD script to render the document:
Saving this file to our repository should trigger the pipleine. After running, you should find a PDF file that looks something like this:
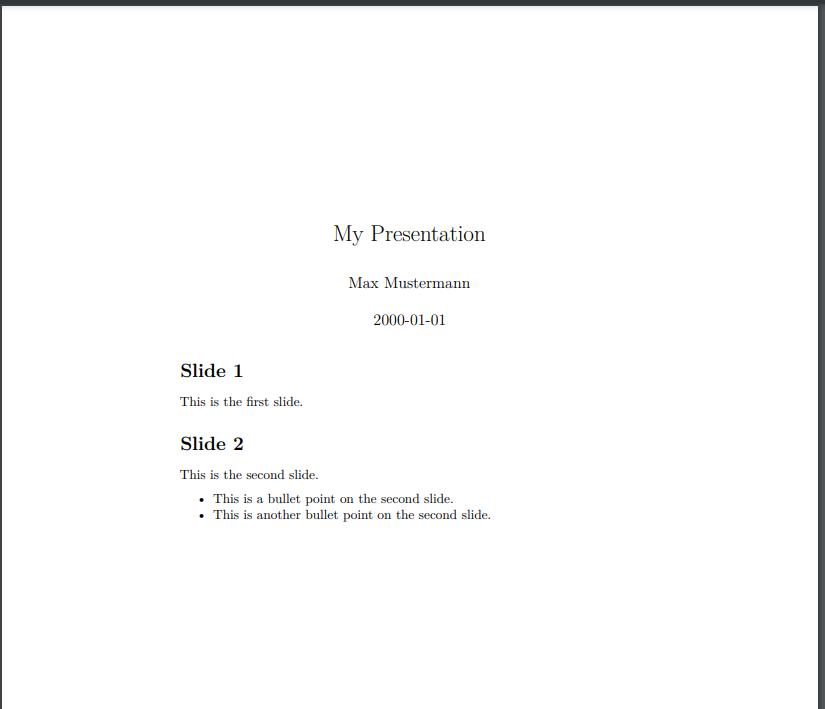
Wait, what? Why doesn’t it look like a presentation? We never told
Pandoc to use the beamer class, and Pandoc isn’t going to
assume anything about the output format if we don’t tell it. We need to
update our CI/CD script to specify that we want to use the
beamer class. We can do this by adding the
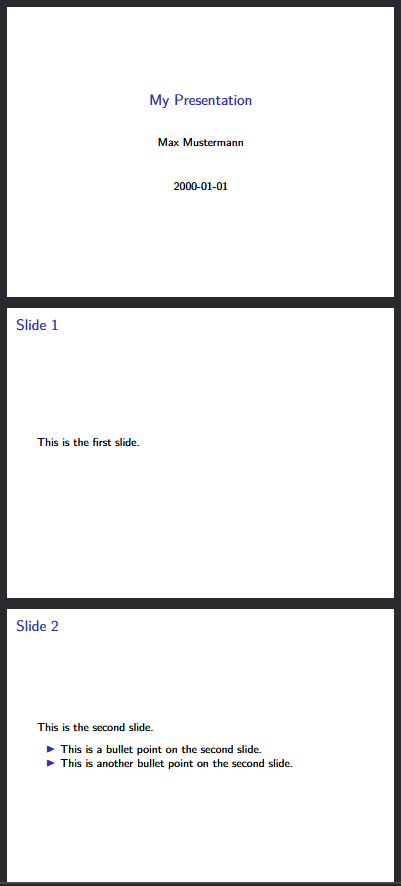
-t beamer option to our Pandoc command:
That looks better!:
The RWTH Template
In the previous episode, we used the EisVogel template to create a simple PDF document from our Markdown source file. This time, we’re going to use a custom template that has been created for RWTH. This will require a few more steps to set up, as we will have to extend our Docker image slightly.
Installing the RWTH template
The current Pandoc image does not contain the RWTH template and its
dependencies, so we will have to add some extra information to our CI/CD
script. We can do this in a section called before_script,
which is a section that allows us to specify commands that should be run
before anything in the scripts section.
YAML
before_script:
    - tlmgr option repository https://ftp.tu-chemnitz.de/pub/tug/historic/systems/texlive/2025/tlnet-final/
    - tlmgr install rwth-ci anyfontsize tex-gyre arimo fontaxes extsizes
    - tlmgr install --reinstall beamer
- echo '\providecommand{\tightlist}{\setlength{\itemsep}{0pt}\setlength{\parskip}{0pt}}' > header.texAn explanation of the commands in this section:
-
tlmgris the TeX Live package manager. - The first command sets the repository that
tlmgrwill use to install packages. We need to use a specific repository that contains the RWTH template and its dependencies.- This is required at the moment because an update in the TeX Live distribution causes errors when installing the RWTH template and its dependencies. This is a temporary workaround until the issue is resolved.
- The second command installs the RWTH template and its dependencies
using
tlmgr. - The third command reinstalls the
beamerpackage. - The fourth command creates a
header.texfile that contains a definition for the\tightlistcommand. This command is used in the template by pandoc, and is not defined by default.
Finally, we need to update our pandoc command to tell it to use the
RWTH template. We can do this by specifically telling pandoc that we
want to use the rwth-beamer class.
We also need to tell pandoc to use the header.tex file
that we created in the before_script section. This is done
using the --include-in-header option. The template uses the
\tightlist command, which is not defined by default, so we
have defined it in the header.tex file to avoid errors when
rendering the document.
Our final pandoc command should look like this:
YAML
pandoc presentation.md -t beamer --output presentation_rwth.pdf -V documentclass=rwth-beamer --include-in-header=header.texAnd when we run the pipeline, we should get a PDF file that looks something like this:
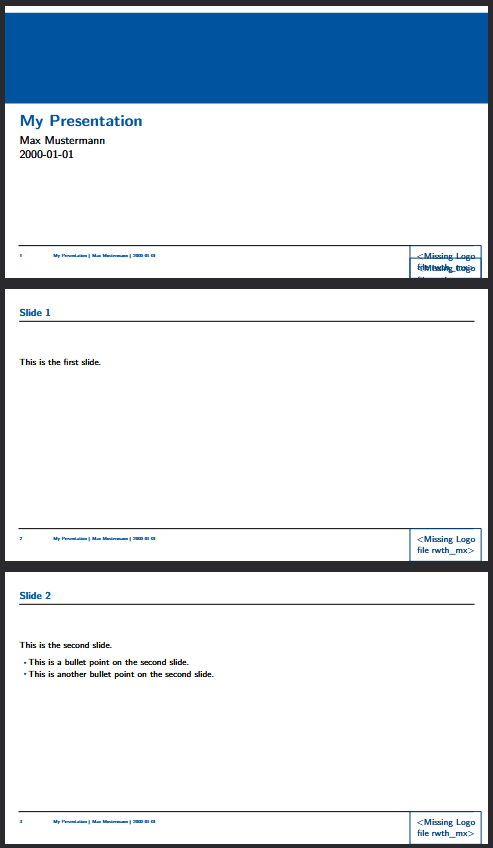
The Missing Logo File
Our template is missing one last thing - the logo file. The template
prints out a message that says
Missing Logo file rwth_mx>. First off, we need a logo
file. We can find an example file in the RWTH-LaTeX-Templates
repository. For our project, we will download the
rwth_mx_cmyk.pdf file and add it to the root of our
repository.
If we were writing a LaTeX document, we would add the logo file as one of the parameters to the document class, like this:
We can do the same thing with pandoc by adding to the YAML front matter of our markdown file:
YAML
---
title: "My Presentation"
author: "Max Mustermann"
date: "2000-01-01"
classoption:
  - logofile=rwth-mx-cmyk
---
Our slides should now look like this:
Adding LaTeX Commands to the Template
We can do all of the basic formatting and content in our markdown file, but we are of course somewhat limited in what we can do with markdown alone. There are may additional options we can perform by adding LaTeX commands to our markdown file. Try updating your markdown file like this:
MARKDOWN
---
title: "My Presentation"
author: "Max Mustermann"
date: "2000-01-01"
classoption:
  - logofile=rwth-mx-cmyk
---

# Slide 1
This is the first slide.

# Slide 2
This is the second slide.

- This is a bullet point on the second slide.

/pause

- This is another bullet point on the second slide.
After running the pipeline, you should see that the third slide is
now split into two slides, with the first bullet point appearing on the
second slide, and the second bullet point appearing on a third slide.
This is because the /pause command tells the
beamer class to pause the slide at that point and wait for
the user to click before showing the rest of the content.
Challenge 1: Adding an alert to a Slide
At the end of the episode, we added a /pause command to
our markdown file to split a slide into two slides. The
beamer class also has an \alert command. Try
adding the following content to your markdown file:
MARKDOWN
# Slide 3

- \alert<1>{This is a bullet point on the third slide.}
- \alert<2>{This is another bullet point on the third slide.}
- \alert<3>{This is yet another bullet point on the third slide.}
What does this do? What happens if you change the numbers in the
alert commands? What happens if you remove the numbers?
The \alert command is used to highlight specific content
on a slide. The numbers in the alert commands specify the
order in which the content will be highlighted. If you remove the
numbers, all of the content will be highlighted at the same time.
- The
beamerclass is a popular LaTeX class for creating slide presentations. - We can use custom templates with Pandoc to create more complex documents.