Introduction to Streamlit
Last updated on 2026-03-24 | Edit this page
Overview
Questions
- How do we create our own Streamlit app?
- How can I add text, data, and widgets to my Streamlit app?
- How can I adjust the appearance and layout of my Streamlit app?
Objectives
- Create a basic Streamlit app and run it in the browser
- Use
st.writeandst.markdownto add text and formatted text to our app - Add simple widgets to our app and understand how they work
- Add a multi-column layout to our app
Running a Streamlit App
We have our environment set up with streamlit installed, so let’s run a simple Streamlit app to see what it can look like. Streamlit comes with a built-in demo app that we can run to see some of the features of Streamlit in action. To run the demo, open your terminal and run the following command:
You should see something like the following output in your terminal:
  Welcome to Streamlit. Check out our demo in your browser.

  Local URL: http://localhost:8501
  Network URL: http://137.226.104.51:8501

  Ready to create your own Python apps super quickly?
  Head over to https://docs.streamlit.io

  May you create awesome apps!
A new tab should open in your browser with the Streamlit demo app
running. You can interact with this just like it was a normal web app -
however if you look a the url in the address bar, you’ll notice that
it’s running on localhost:8501. This means that the app is
actually running on your local machine, and Streamlit is serving it to
your browser.
Feel free to click around for a minute and explore the demo app.
When you’re ready, you can stop the app by going back to your
terminal and pressing Ctrl + C.
Starting our own Streamlit App
Now that we’ve seen the demo app, let’s create our own. To start
with, let’s empty out the main.py file that
uv init created for us. Open main.py in your
code editor and delete all the existing code, then replace it with the
following:
PYTHON
import streamlit as st
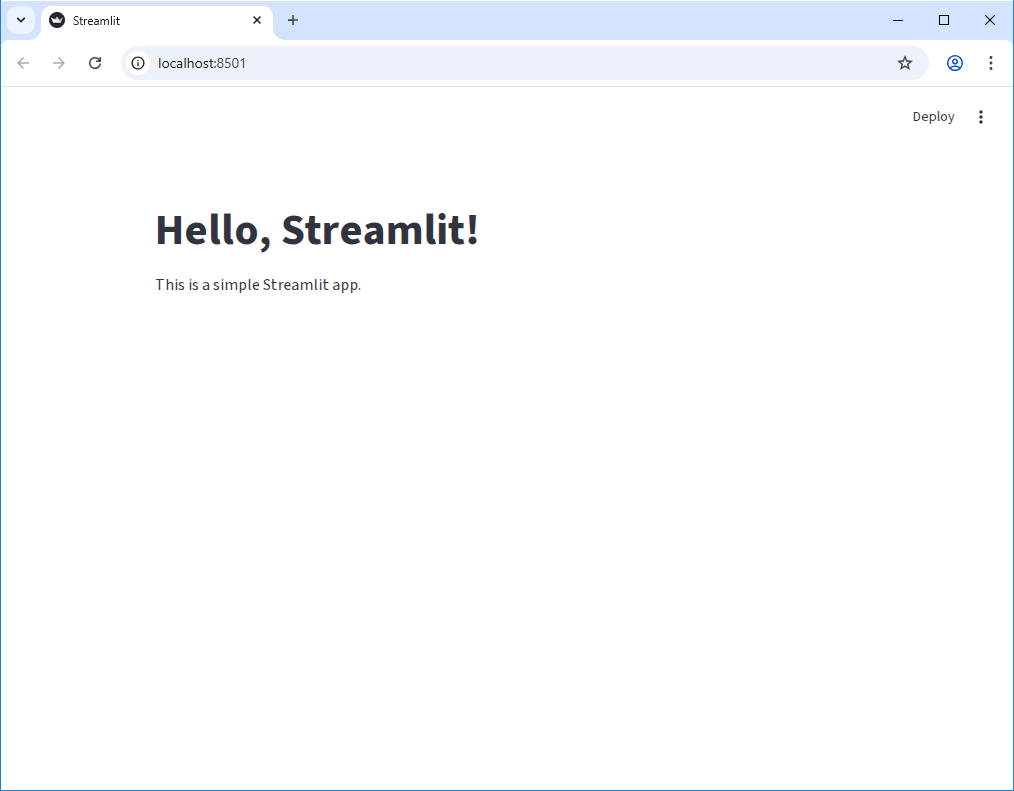
st.title("Hello, Streamlit!")
st.write("This is a simple Streamlit app.")To run this app, we just need to modify our previous command a little
bit. Instead of running uv run streamlit hello, we can
run:
You should see the same output in your terminal, but now your browser should open a new tab that looks like this:
Editing the App
Let’s make a small change to our app to see how Streamlit handles
updates. Open main.py in your code editor and change the
st.write line to the following:
Back on our browser tab, you may see that nothing appears to have changed. However if you look closely at the upper right corner of the page, you should see that the “Deploy” link has been replaced with three new elements: the text “File change” and two clickable links “Rerun” and “Always rerun”.
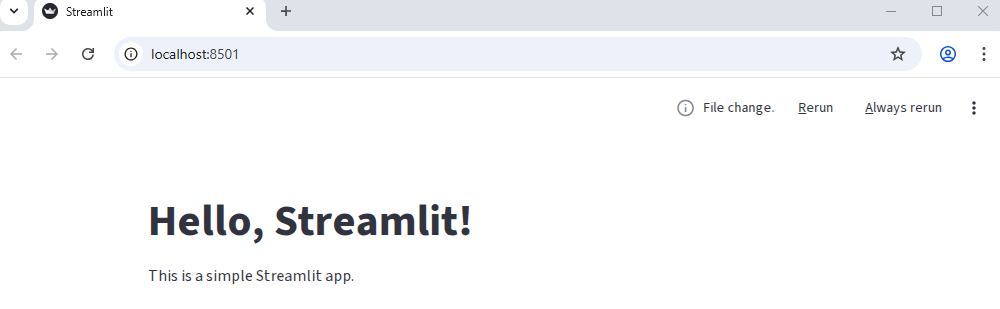
Let’s click the “Always rerun” link and see what happens.
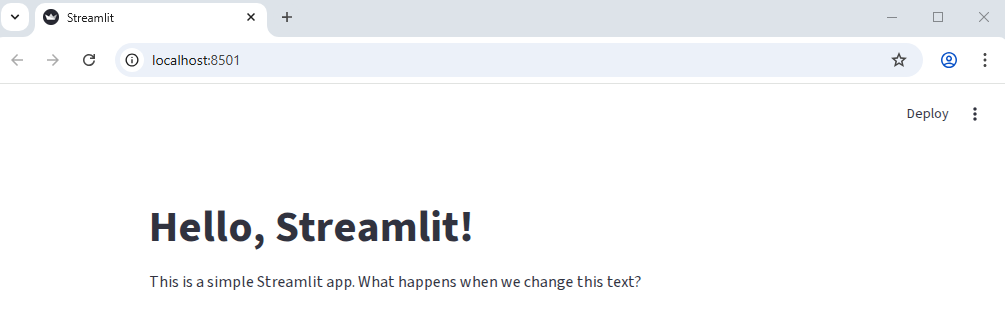
As you can see, the app has updated with our new text! Let’s make another change. Let’s add another line to out app that creates a subheading:
Switching back to our browser, we should see the changes implmented immediately without us having to refresh the page or click any buttons! This is one of the features of streamlit - as long as we don’t cancel the application running in the terminal, it will automatically detect changes to our code and update the app in real time.
Writing Markdown
We can also write plain markdown for our streamlit app, which allows
us to easily format large blocks of text. To write markdown, we can use
the st.markdown function. Let’s update our app to include
some markdown:
PYTHON
import streamlit as st
import pandas as pd

st.title("Hello, Streamlit!")

st.write("This is a simple Streamlit app. What happens when we change this text?")
st.subheader("This is a subheader. You can add more sections to your app.")

st.markdown(
    """
    We can write markdown to format our text, like this:

    - This is a bullet point
    - This is another bullet point

    We can also write **bold** text or *italic* text.
    """
)
Displaying Data
We can do more than just display text though, of course. Let’s pass a
list of numbers to the st.write function and see what
happens:
When we save this change and switch back to our browser, we should see that the list of numbers is now a collapsable list in our app. We can click the little arrow next to the list to expand or collapse it.

Let’s try passing a different data object to st.write.
Let’s make a simple pandas DataFrame and pass that to
st.write:
PYTHON
import streamlit as st
import pandas as pd
st.title("Hello, Streamlit!")
st.write("This is a simple Streamlit app. What happens when we change this text?")
st.subheader("This is a subheader. You can add more sections to your app.")
st.markdown(
"""
We can write markdown to format our text, like this:
- This is a bullet point
- This is another bullet point
We can also write **bold** text or *italic* text.
"""
)
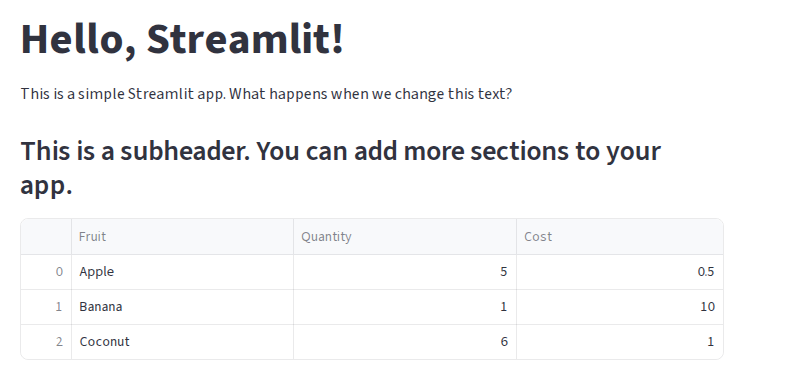
my_dataframe = pd.DataFrame(
{"Fruit": ["Apple", "Banana", "Coconut"], "Quantity": [5, 1, 6], "Cost": [0.5, 10.00, 1.0]}
)
st.write(my_dataframe)When we save this change and switch back to our browser, we should see that the DataFrame is now displayed as a table in our app:
But that’s not all - the table already has some built-in interactivity! We can click the column headers to sort the table, or, by hovering over the table, get a tooltip that allows us to download the table as a CSV, search the table, or make the table fullscreen.
st.write
The st.write function can be thought of similar to the
built-in print function in Python, but for Streamlit apps.
It can take in a wide variety of data types and will intelligently
display them in the app.
Widgets
We can add a variety of interactive widgets to our app. Try the following:
PYTHON
import streamlit as st
import pandas as pd

st.title("Hello, Streamlit!")
st.write("This is a simple Streamlit app. What happens when we change this text?")
st.subheader("This is a subheader. You can add more sections to your app.")

st.markdown(
    """
    We can write markdown to format our text, like this:

    - This is a bullet point
    - This is another bullet point

    We can also write **bold** text or *italic* text.
    """
)

if st.checkbox("Show Fruit DataFrame"):
    my_dataframe = pd.DataFrame(
        {"Fruit": ["Apple", "Banana", "Coconut"], "Quantity": [5, 1, 6], "Cost": [0.5, 10.00, 1.0]}
    )
    st.write(my_dataframe)

my_value = st.slider("Select a value", 0, 100, 50)
st.write(f"You selected: {my_value}")
Layout
Finally, we can control the layout of our app using the built-in
layout functions. Let’s use the st.columns function to
create a two-column layout:
PYTHON
import streamlit as st
import pandas as pd
st.title("Hello, Streamlit!")
st.write("This is a simple Streamlit app. What happens when we change this text?")
st.subheader("This is a subheader. You can add more sections to your app.")
st.markdown(
"""
We can write markdown to format our text, like this:
- This is a bullet point
- This is another bullet point
We can also write **bold** text or *italic* text.
"""
)
if st.checkbox("Show Fruit DataFrame"):
my_dataframe = pd.DataFrame(
{"Fruit": ["Apple", "Banana", "Coconut"], "Quantity": [5, 1, 6], "Cost": [0.5, 10.00, 1.0]}
)
st.write(my_dataframe)
my_value = st.slider("Select a value", 0, 100, 50)
st.write(f"You selected: {my_value}")
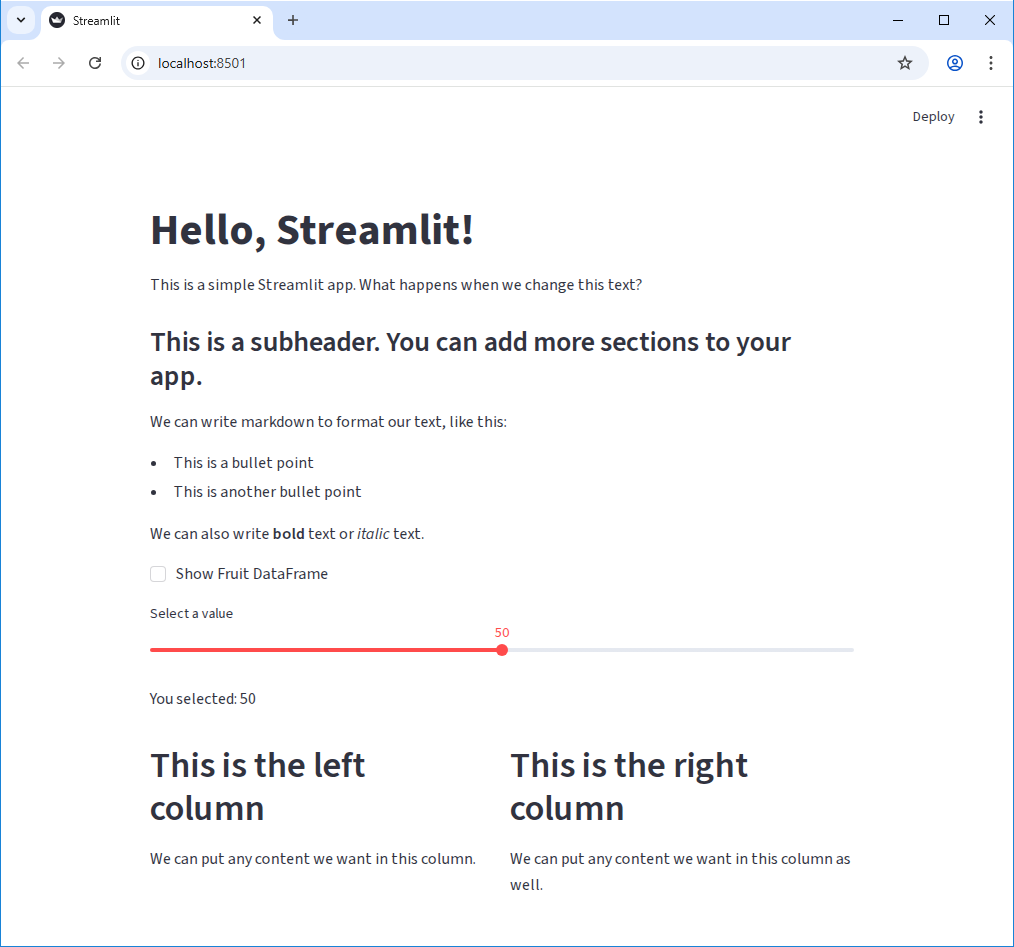
left_column, right_column = st.columns(2)
with left_column:
st.header("This is the left column")
st.write("We can put any content we want in this column.")
with right_column:
st.header("This is the right column")
st.write("We can put any content we want in this column as well.")Our app at this point should look something like this:
Challenge 1: Add a Text Input Widget
We’ve seen a few widgets so far. Add a text input widget to your app that allows the user to enter their name, and then display a personalized greeting.
The function for creating a text input widget is
st.text_input.
Use the slider example as a reference.
Challenge 2: Add another column
Use the st.columns function to create a three-column
layout instead of a two-column layout. In the new column, add a widget
of your choice and some text.
PYTHON
left_column, center_column, right_column = st.columns(3)
with left_column:
    st.header("This is the left column")
    st.write("We can put any content we want in this column.")
with center_column:
    st.header("This is the center column")
    st.text_input("Enter some text")
with right_column:
    st.header("This is the right column")
    st.write("We can put any content we want in this column as well.")
Challenge 3: st.metric
Play around with the st.metric widget. What does it do?
Try adding the parameter delta to it and see what
happens.
Bonus: Instead of a static value, use the st.slider
widget to create a metric that updates the delta based on the slider
value.
- We can run a Streamlit app with
uv run streamlit run {script-name}.py. - Streamlit automatically detects changes to our code and updates the app in real time.
- We can write text to our app using
st.writeandst.markdown. -
st.writecan take in a wide variety of data types and will intelligently display them. - Streamlit has a variety of built-in widgets that we can use to add interactivity to our app.